Description
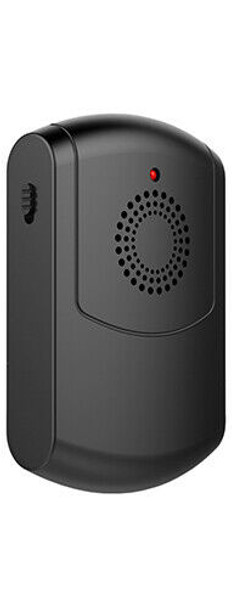
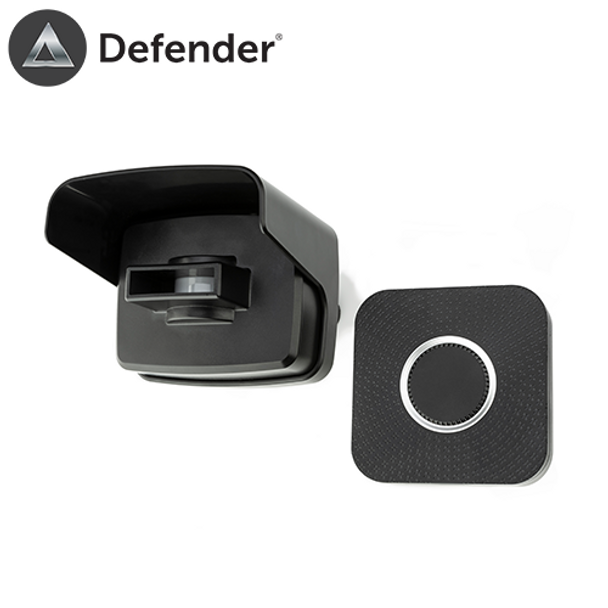
Defender DX-500 Extra Wireless Pager Receiver for Security Kit with 150 m RangeThe DX-500 has an operating range of 150m and each system can be added to with multiple sensors and receivers. The DX-500 is a long range detection kit designed to protect the perimeter of properties, ranging from residential areas to large commercial or industrial environments. The battery-powered, wireless nature of the kit means it is also suitable for use in rural environments with no access to electricity.Suitable forResidential areas Commercial environment Business surroundings Rural environmentsThe wireless pager receiver has an operating range of 150m from the sensors and can connect with up to 50 transmittersThe receiver has 50 different tunes with the additional option for a covert vibration or flashing mode, it also comes with a practical belt clip.The DX-500 has an operating range of 150m and each system can be added to with multiple sensors and receiversThe PIR sensors are fully waterproof and easy to install. Perfect for use on driveways, construction sites, rural properties and entry points of any kind.Wireless Indoor Receiver Open the rear cover on the Wireless Receiver and insert the 3 x AAA batteries provided, noting the correct polarity. Replace the cover securely. Please note: when the battery is low, the blue LED will be constantly showing.Volume ControlThe volume button on your receiver allows you to select from four different volume levels. Simply press the volume button to hear the various sound level options. This level can be changed as and when you wish by pushing the volume button.Operation & PairingBefore pairing with the sensor, choose your preferred melody by using the backward and forward buttons to cycle through the options. Each Receiver has 50 different melodies to choose from. This allows you to set different melodies for up to 50 different PIR Sensors (sold separately), making it easy to identify which zone has been triggered.Once you have chosen your desired tone you are ready to pair the Receiver with a PIR Sensor.Press and hold the volume button for five seconds, until you hear a noise and the blue LED starts flashing. The Receiver is now in pairing mode and you simply need activate the PIR sensor whilst the Receiver is within range (150m).To activate, simply wave your hand in-front of the PIR SensorThe desired melody should trigger, indicating pairing was successful.Pairing mode lasts five secondsAnd will automatically end after this time, or when a pairing is successful.To reset the Receiver and remove all pairingsPress and hold the forward button for five seconds until you hear a noise and the blue LED flashes once. The Receiver has now been reset and all existing pairings have been deleted.The Receiver is wireless and can be kept on any surface around your property, or even hung on a wall.Please noteThe Receiver is indoor only and should not be carried outdoors.The PIR Sensor is designed for outdoor use and can be installed in a host of locations by following the below stepsEach Sensor uses PIR and has a detection range of 8-10m and a detection angle of 60 degrees.You will needPencilPhillips screwdriverElectric drill with 3/32” end 7/32” drill bits (recommended) - Hammer (optional)It is recommended to mount the PIR SensorAt least 3 to 4 ft (1m) above the ground on a sturdy, non-metal surface (i.e. a wall, wooden post or tree) with the sensor eye pointed straight out over the area you wish to cover (such as up your driveway looking towards your house). This will decrease or eliminate false alarms from small animals, give you a larger detection area and avoid unwanted alarms from nearby lawns/roads.Always test that your Sensor is working in your desired location before installing itAvoid placing your sensor in a location where sunlight will shine directly into the sensor eye. Direct sunlight may cause false alarms and/or damage to the PIR sensor.Step 1: Mark the mounting holes with a pencil.Step 2: If installing on a wooden surface, you only need to use the included screws. Drill out your pilot holes using a 3/32” drill bit to a depth of 3⁄4”. This will help prevent stripping of the screws and hold the sensor more securely.Step 3: If installing on any other surface, such as brick or masonry, use the included screws andanchors. Drill out your pilot holes using a 7/32” drill bit to a depth of 1”. Gently tap the anchors into your pilot holes using a hammer until the anchors are flush with the mounting surface.Step 4: Screw the bracket base to the place you want to install.Step 5: Screw the cover/shade onto the shaft of the bracket (remove the safety screw first).Step 6: Replace the cover/shade and secure the screws.Step 7: Twist the ball onto the fixed base of the bracket until tight and secure. Do not over-tighten. Step 8: Adjust the angle of your sensor so that it is looking at your target area.Box contains 1 x DX-500 Wireless Indoor ReceiverBattery Installation/Replacement3 x AAA batteriesInstruction manual


